Create Email Profile
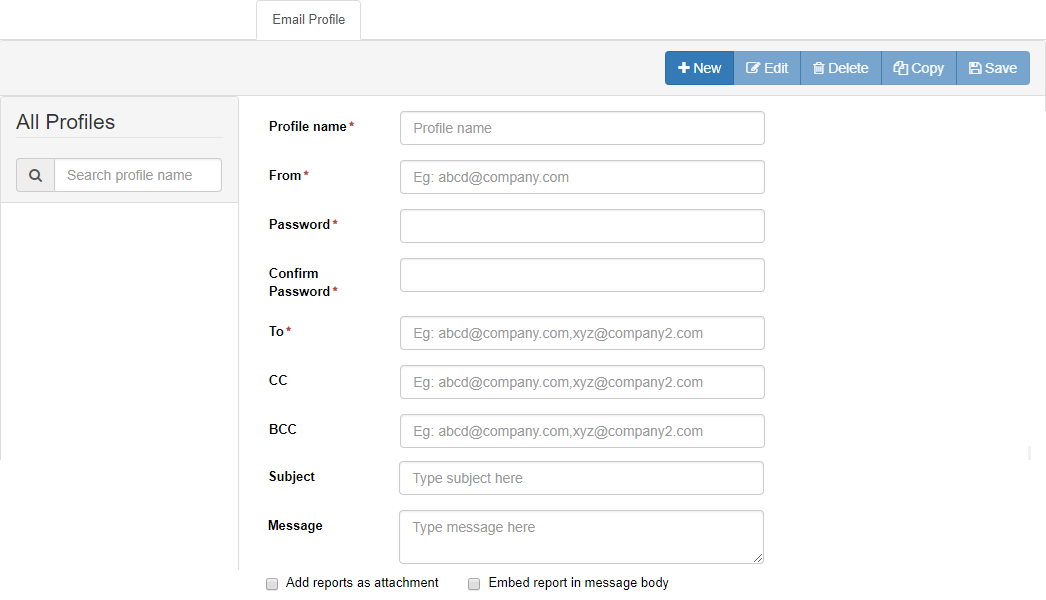
You can create the email profile here, using which the Report Scheduler will deliver the selected report in the selected file formats to the selected recipients at the defined intervals. Switch to "Email Profile" tab to create, edit, and delete the email profiles.

Figure: Email Profile
Perform the following steps here to create an email profile.
- Provide the following inputs in the respective fields.
- Name of the profile
- Sender's Email Address
- Password of the provided Sender's Email Address
- Recipients' Email Addresses in "To" field. You can separate the multiple addresses with a comma (,). For example, test@domain.com, test2@domain.com
- (Optional) Recipients' Email Addresses in CC or BCC field, if required
- (Optional) Type the subject that will be sent in the email
- (Optional) Enter the message the will be sent in the message body
The value of fields like To, CC, BCC, Subject, and Message Body will remain same for all emails being sent from the same email profile. These values cannot be changed while creating the scheduler.
- Select "Add Reports as attachment" to send the reports' files as attachments to the emails.
- Whereas, you can select "Embed Report in message body" to embed the reports in the message body of the emails itself.
- Click "Save" to save the email profile.
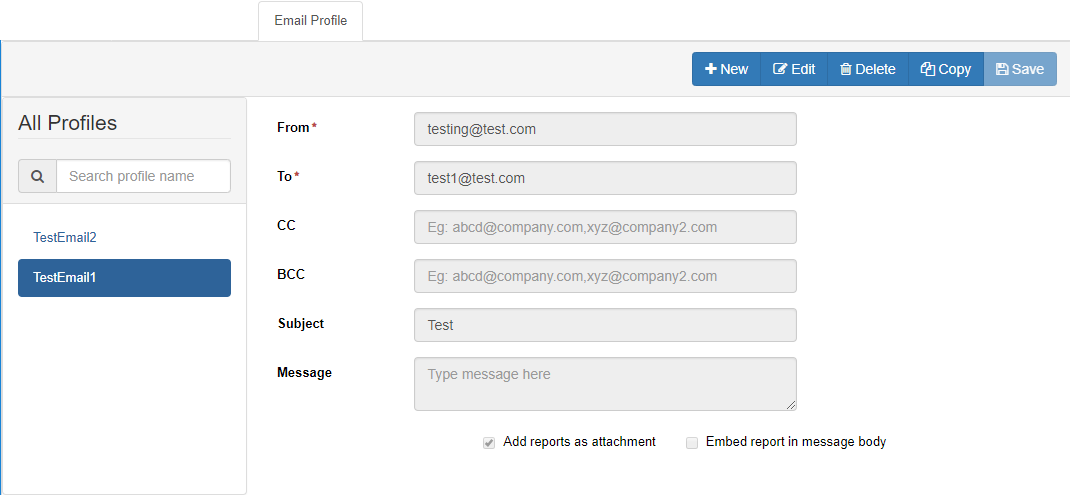
You can create multiple profiles by performing these steps. The created profiles will be listed in the left pane. You can select any profile to view, modify, copy, and delete it.

Figure: List of Email Profiles