Create Report Scheduler
You can create a report scheduler that will share the selected reports either by sending emails or through saving files at selected locations automatically at the defined intervals. Switch to "All Schedules" sub-tab in "Scheduler".
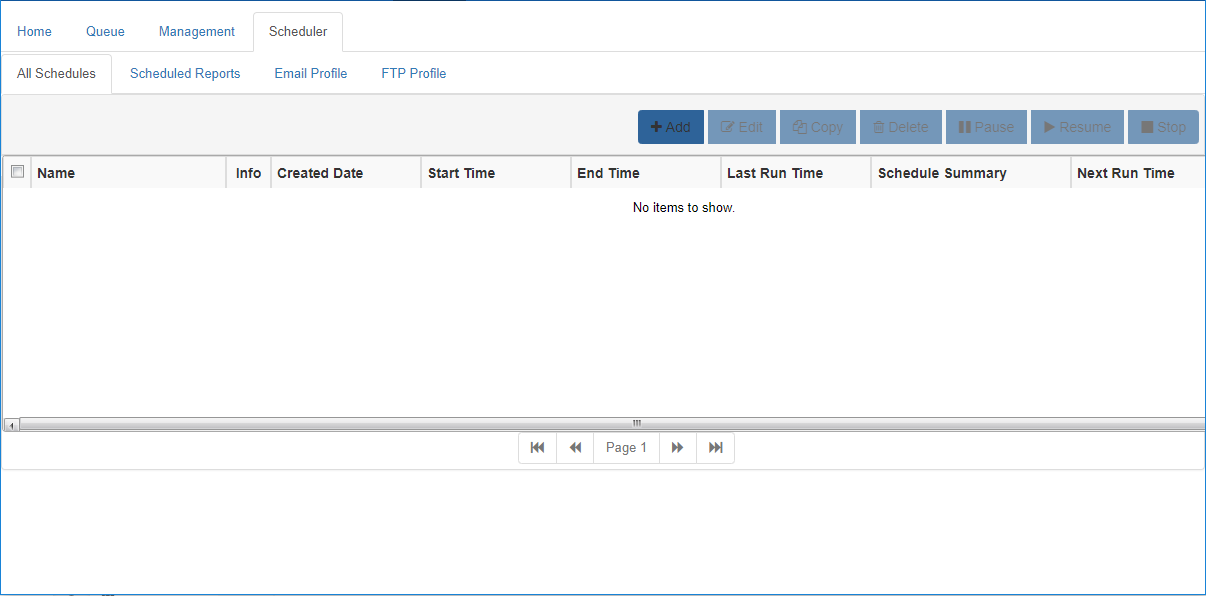
Figure: Scheduler Tab of ART
Perform the following steps to create a report scheduler.
- Click "Add" button in "All Schedules" tab of "Scheduler" tab. It shows the following page.
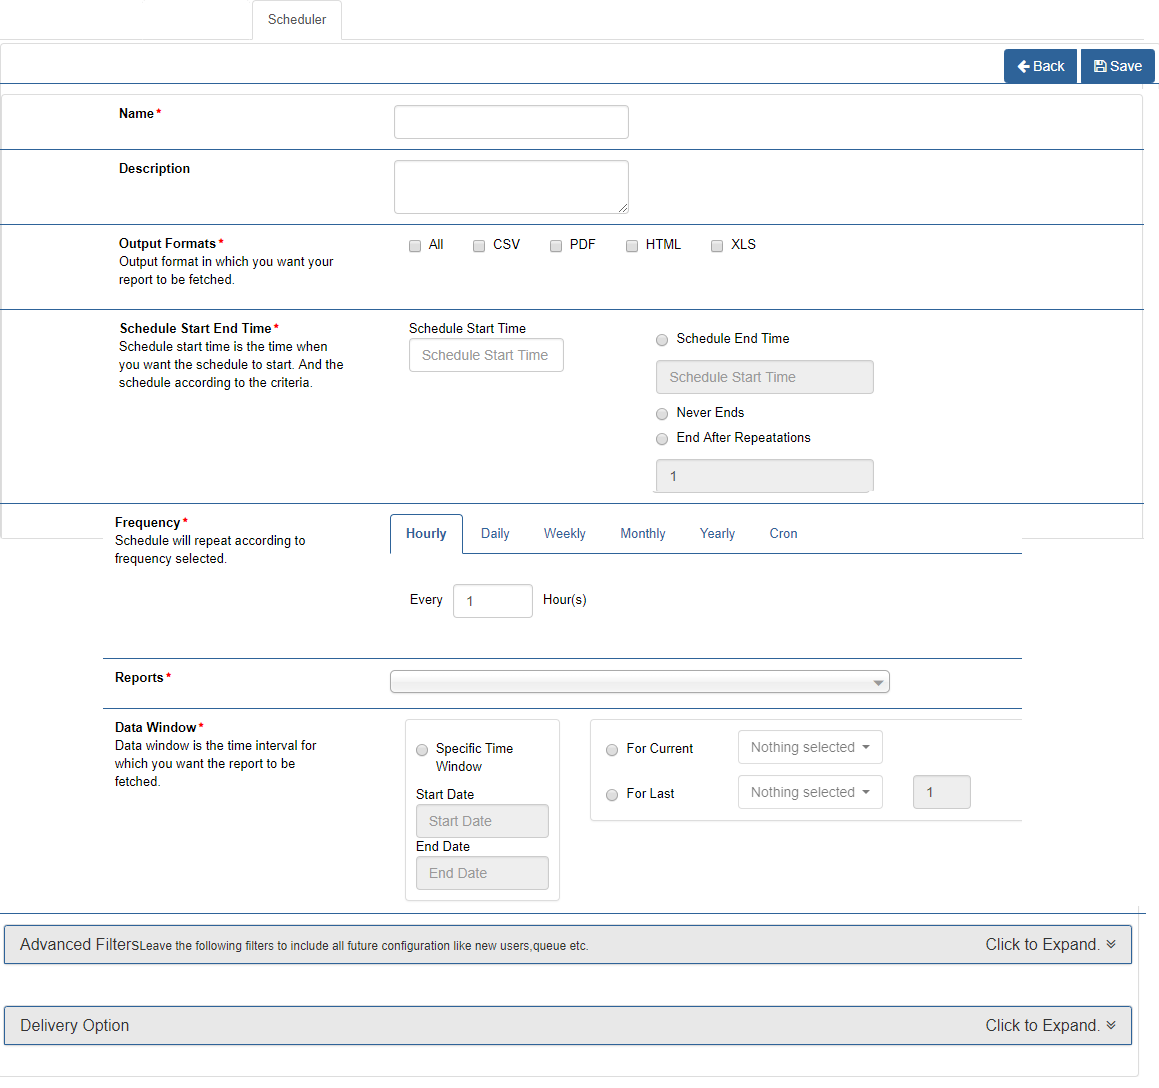
Figure: Adding New Report Scheduler
- Provide a name for the new report scheduler.
- Provide a description.
- Select any of the following options.
- All: Select it to select all report formats.
- CSV: Select it to send the reports in CSV format.
- PDF: Select it to send the reports in PDF format.
- HTML: Select it to send the reports in HTML format.
- XLS: Select it to send the reports in XLS format.
- Schedule Start and End: Here, you have to provide the start and end time for the schedule.
- Schedule Start Time: Click "Schedule Start Time" box to select the date and time when the scheduler will run. It shows the following pop-up.
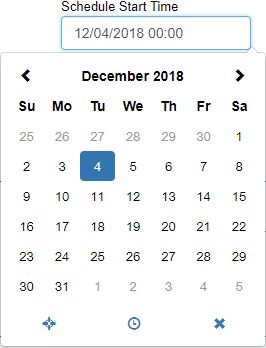
Figure: Select when Schedule start
- Schedule Ends: You can select any of the following options to specify when the schedule will end.
- Schedule End Time: Click "Schedule End Time" box to select the date and time when the scheduler will end.
- Never Ends: Select it to make this scheduler job infinite. It will run continuously.
- Ends After Repetition: Select it to specify how many repetitions this job will end.
- Schedule Start Time: Click "Schedule Start Time" box to select the date and time when the scheduler will run. It shows the following pop-up.
- Frequency: Select any of the following frequencies to specify the intervals when the scheduler will run automatically.
- Hourly: Select it to run the scheduler after selected hours until the Scheduler Time, and specified repetitions end.
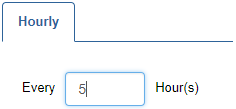
Figure: Hourly Frequency
You have to enter the hours after which the scheduler will run. - Daily: Select it to run the scheduler daily on the specified time.
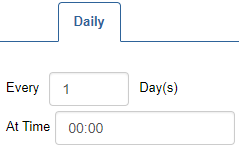
Figure: Daily Frequency
You have to enter the day after which the scheduler will run at the specified time. - Weekly: Select it to run the scheduler weekly at the selected days and at the selected time.

Figure: Weekly Frequency
You have to select the day and provide the time when the scheduler will run. - Monthly: Select it to run the scheduler monthly at the selected day and at the selected time.

Figure: Monthly Frequency
Select any of the following options and select the time when the scheduler will run.- Day __ of every __ month(s): Select it to run the scheduler on every selected day of the month.
- The ___ _____ of every __ months: Select it to run the scheduler on the selected weekday of every month.
- Yearly: Select it to run the scheduler yearly in the selected months, at the selected day or date, and at the selected time.
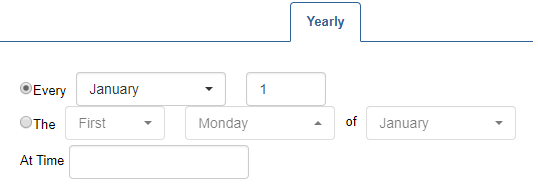
Figure: Yearly Frequency
Select any of the following options and select the time when the scheduler will run.- Every ______ ___: Select it to run the scheduler on every selected day of the month.
- The ___ _____ of every __ months: Select it to run the scheduler on the selected weekday of every month.
- Cron: Cron jobs are created to automate the tasks and run them at the selected intervals. Here, you can select an already created cron job. The scheuler will run as per the selected cron job.

Figure: Cron Job
- Hourly: Select it to run the scheduler after selected hours until the Scheduler Time, and specified repetitions end.
- Select the report for which you want to create the scheduler. After selecting the report, the system determines whether the setup and campaign are available for the selected report or not. You can proceed only when both of these are available.
The message will be displayed if the setup and campaign are not available for the selected report.
- Data Window: Select the date and time duration of which data you want to capture. It contains the following options.
- Specific Time Window: Select it to specify the start and end time of the date and time duration of which data has to be collected to create the report.
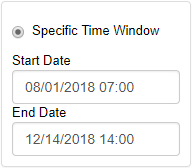
Figure: Specific Duration of Data Collection
- For Current: Select it to collect the data for the current hour, day, week, month, quarter or year.
- For Last: Select it to collect the data for your-entered last number of hours, days, weeks, months, quarters, or years.
- Specific Time Window: Select it to specify the start and end time of the date and time duration of which data has to be collected to create the report.
- Select the setups.
- Select the campaigns of which report you want to schedule.
- Select the queues.
- Select the threshold, which is the minimum value that defines how many records should be there at least in the selected data collection window, so that a report can be created.
For example, if 10 is selected, then the report will be sent only when at least, equal to, or more than 10 records of a report are captured in the selected Data Collection window. - Advanced Filters: You can click "Advance Filter" accordion header to expand the options that let you select the FTP Profile and filters.

Figure: Advanced Filters
This section can be segregated into the following sections.- FTP Profile: The reports will be saved in the selected file formats at the selected location of the FTP profile. You have to select the FTP Profile in the drop-down menu.
- Filters: As per the selected report, any or multiple of the following filters are displayed in the Advanced Filter Section.
- Optional Fields: Select this option to include the selected optional fields in the report. It contains the following fields.
- Max Hold Time
- Min Hold Time
- No Optional Field
- Process Name
Make sure to not select "No Optional Field" as selecting it will remove all optional fields from the selected report.
- Charts: Select this option to include any or all of the following charts in the reports.
- Abandoned Calls after Target Analysis
- Abandoned Calls before Target Analysis
- Average Talktime Analysis
- Served Calls in Target Analysis
- Service Level Analysis
The values of Optional Fields and Charts can be different for different reports.
- Date Format: Select this option to decide the date format of the report. It contains the following options.
- MMM d, yyyy h:mm:ss a
- d MMM, yyyy h:mm:ss a
- dd-MM-yyyy h:mm:ss a
- MM-dd-yyyy h:mm:ss a
- Optional Fields: Select this option to include the selected optional fields in the report. It contains the following fields.
- Delivery Option: Here, you can select the Email Profile, through which the email containing the report will be sent.
List of recipients is also defined in the email profile.
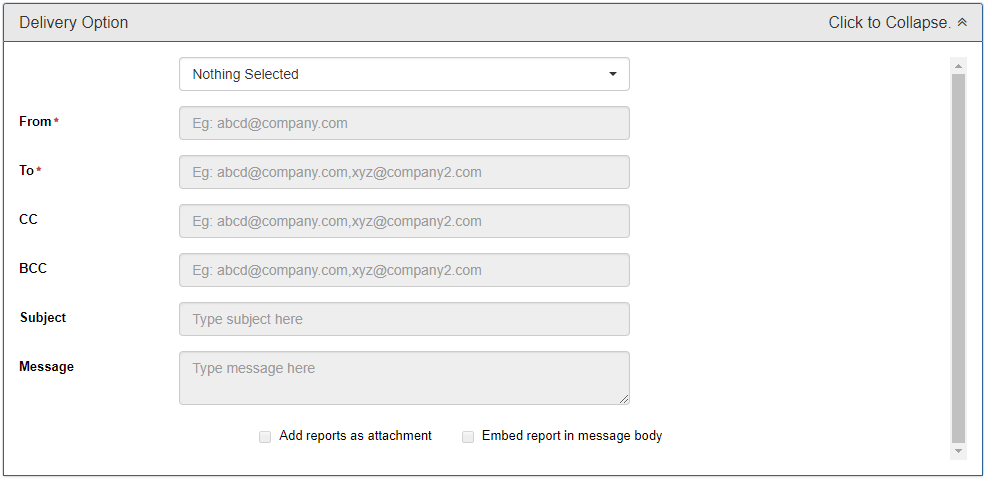
Figure: Select Email Profile
Select the email profile in the drop-down menu. - Click "Save" to create the report scheduler.
You can create multiple reports by following these steps. These reports will be listed in "All Schedules" tab.
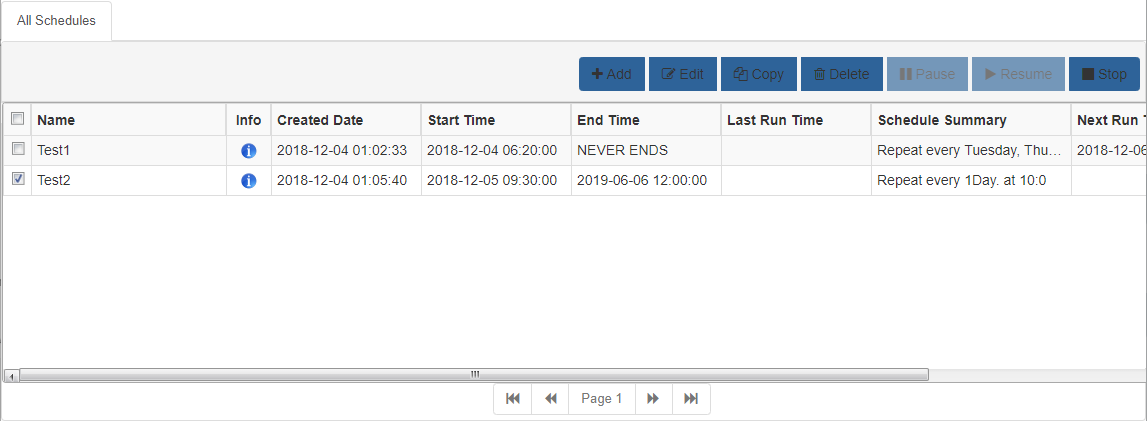
Figure: All Schedules
Here, you can edit, copy, delete, stop, pause, or resume the selected scheduled jobs.