Holiday/Office Timings (Licensed Feature)
Holiday/Office Timings is a feature which defines the holiday and office hour timings. This feature is licensed. This tab will be only visible if holiday/ office timing license is procured at the center.
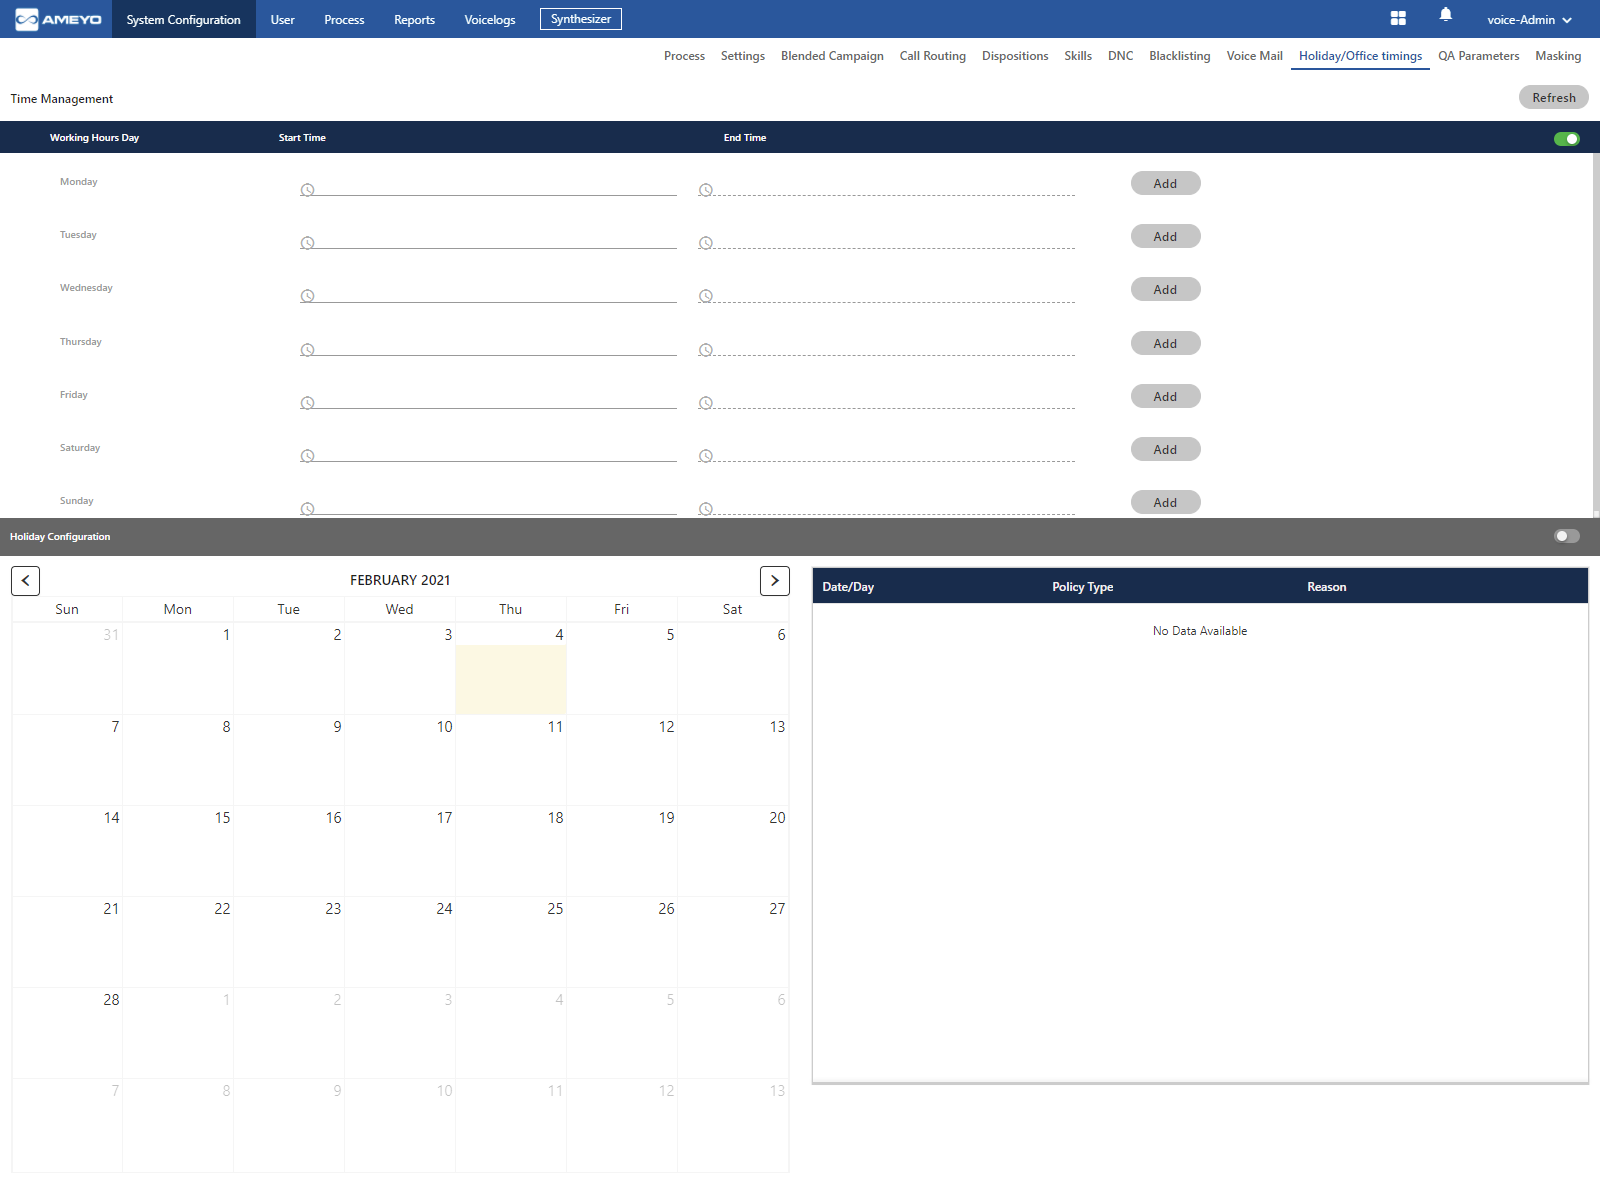
Figure: Holiday/Office Timings Tab
Working Hour Configuration
Perform the following step to configure the working hours.
The Voice-Admin can enable office hour at system level under Time Management by sliding the working hours bar towards right to enable working hours.

Figure: Define Working Hours
If this is not enabled, then office hour configuration will not be configured.
- Click the time box under "Start Time" for any day to add the time when the working hours start. It shows a pop-up, in which you can select the hours, minutes, and seconds.
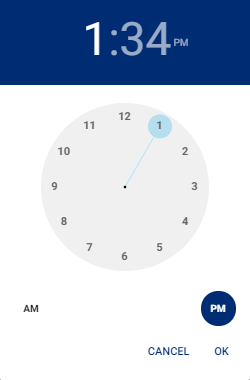
Figure: Select Time
You can click hour in header to use the clock to select the hour.
You can click minute in the header to use the clock to select the minutes.
You can click "PM" or "AM" in the header to change their values.
Once done, click "OK" to save the time. Similarly, you have to select "End Time".
- Click "Add" to add the working duration for the particular day. Similarly, you can provide the working hours for all seven days as displayed in the following screenshot.
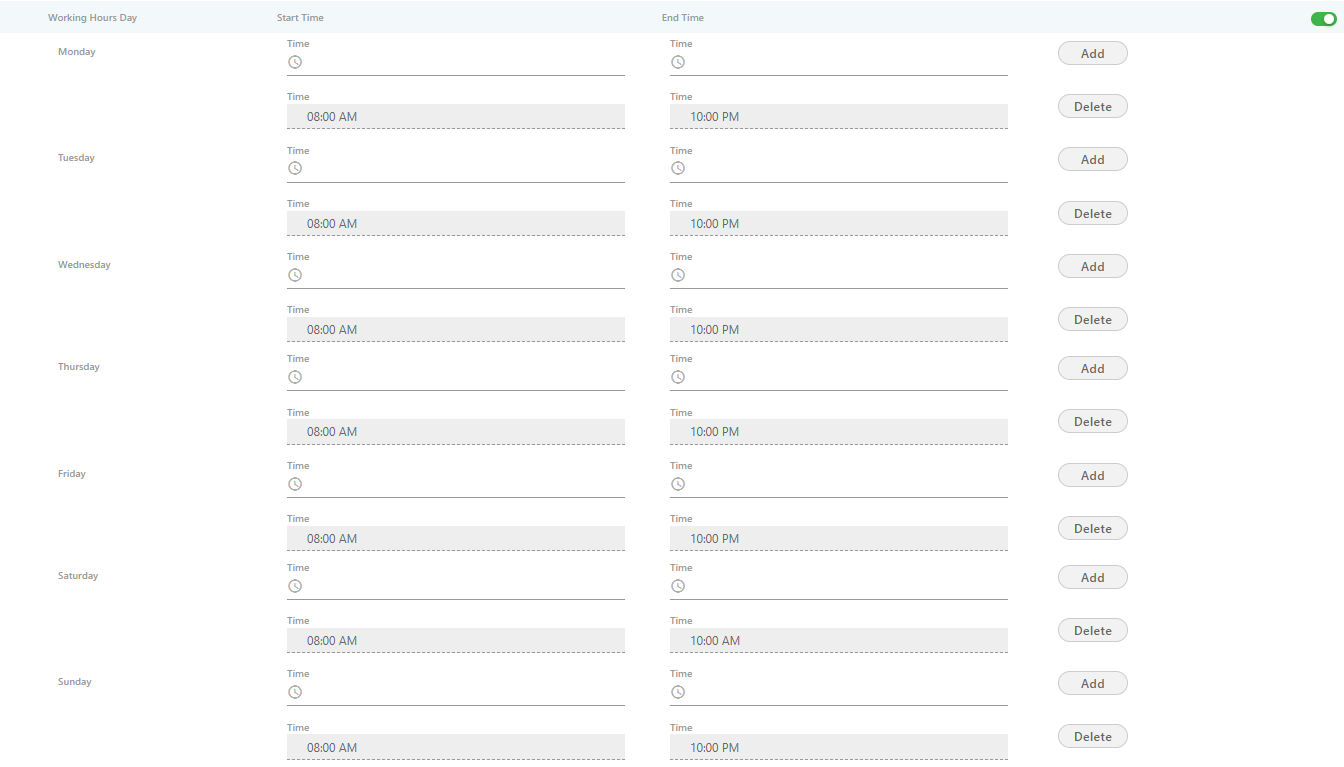
Figure: Defined Working Hours
To delete the working hour for a day, click "Delete" for that row.
Holiday Configuration
The Voice-Admin can enable Holiday at system level under this option by sliding the holiday configuration bar towards right. If this is not enabled, then holiday configuration will not be configured.
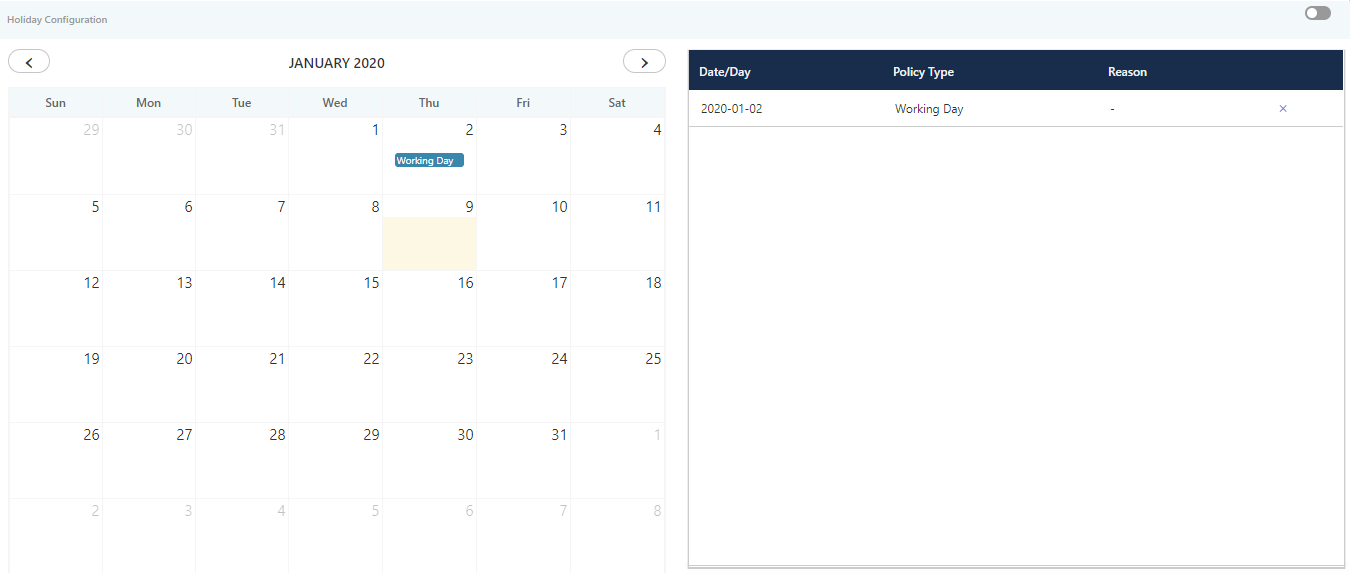
Figure: Holiday Configuration
Perform the following steps.
- Voice-Admin can select the date from calendar to mark different days as holiday.
- Click a day to mark that day as Holiday or Working Day using the following pop-up.
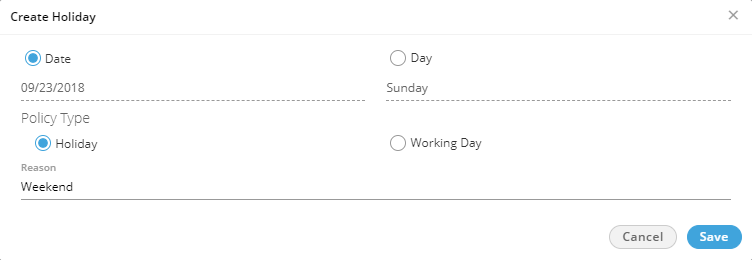
Figure: Create Holiday or Working Day
- Date: Click "Date" if you only want to mark the selected date as Holiday or Working day.
After selecting it, select any of the following options.- Holiday: Click it to mark the selected day as a holiday.
- Working Day: Click it to mark the selected day as a working day.
- Day: Click "Day" if you want to want the holiday or working day to repeat on the same day.
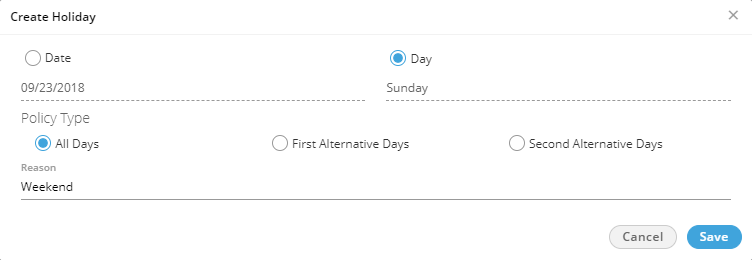
Figure: Create Reoccurring Holidays
After selecting it, select any of the following options.- All: Select it to mark all days in the month as the holiday.
-
Holiday on an alternate day means if the holiday is marked on the first week then the next holiday on the same day will be on the third week. There will be no holiday in the second week on the selected day.
Here, you can select whether to start alternate holidays on the first week or second week. - First Alternate Days: Select it to start the alternate holidays on the selected day from the first week itself.
- Second Alternate Days: Select it to start the alternate holidays on the selected day from the second week itself.
- Provide a reason to create a holiday or weekday.
- Click "Save" to save the day.
Rather, you can click "Cancel" to discard it. The selected holiday will be listed on the right side section.
Following is a sample screenshot.
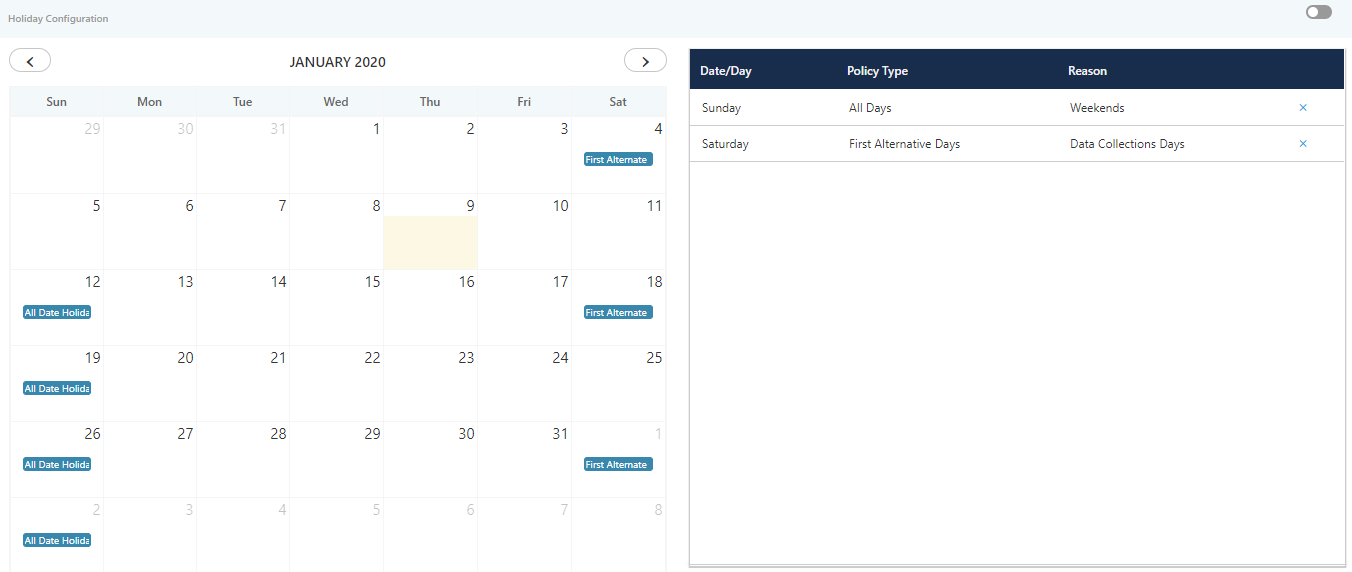
Figure: Created the holidays
To delete a holiday, click "X" for a holiday in the right side section.