<PORT>://<HostName_OR_IP>:<PORT>/app/#
Replace the following variables.
Variable |
Required Value |
|---|---|
<protocol> |
HTTP or HTTPS |
<HostName_OR_IP> |
IP Address or Domain Name of the Site where Ameyo Application is running. |
<PORT_NUMBER> |
8888 for HTTP or 8443 for HTTPS |

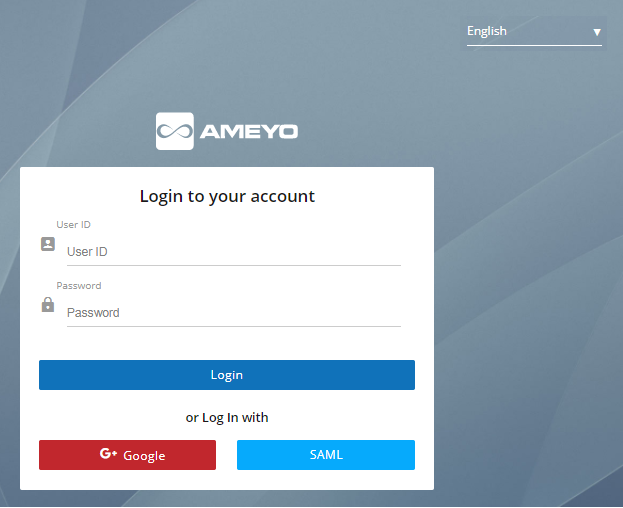
Figure: Login Screen
- Normal Login: The agent needs to enter the “User ID” and “Password” which is provided by the administrator in the login screen and click "Login".
- Login with SAML: Click "SAML" to login with your SAML Account hosted at your IDP (Identity Provider).
Security Assertion Markup Language(SAML) is an XML-based framework for user authentication. Using it, the user authentication can be done with a third-party Identity Provider (IDP) such as Active Directory.
- Google: User can also login using its Google account. User don’t have to use Ameyo user credentials to login, instead users can login using Single-Sing-On by just logging into its Google account.
Click "Google" to login with your Google account.
Both SAML and Google Authentication are licensed features and has to be configured from the backend. In the absence of both license and configuration, these options will not be visible on the logon screen.

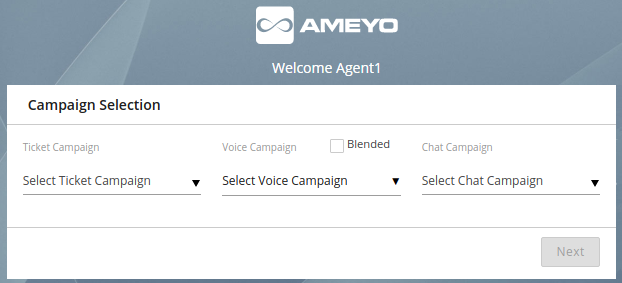
Figure: Select the Campaign

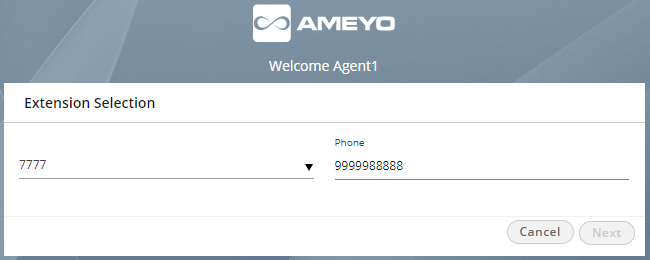
Figure: Extension Selection

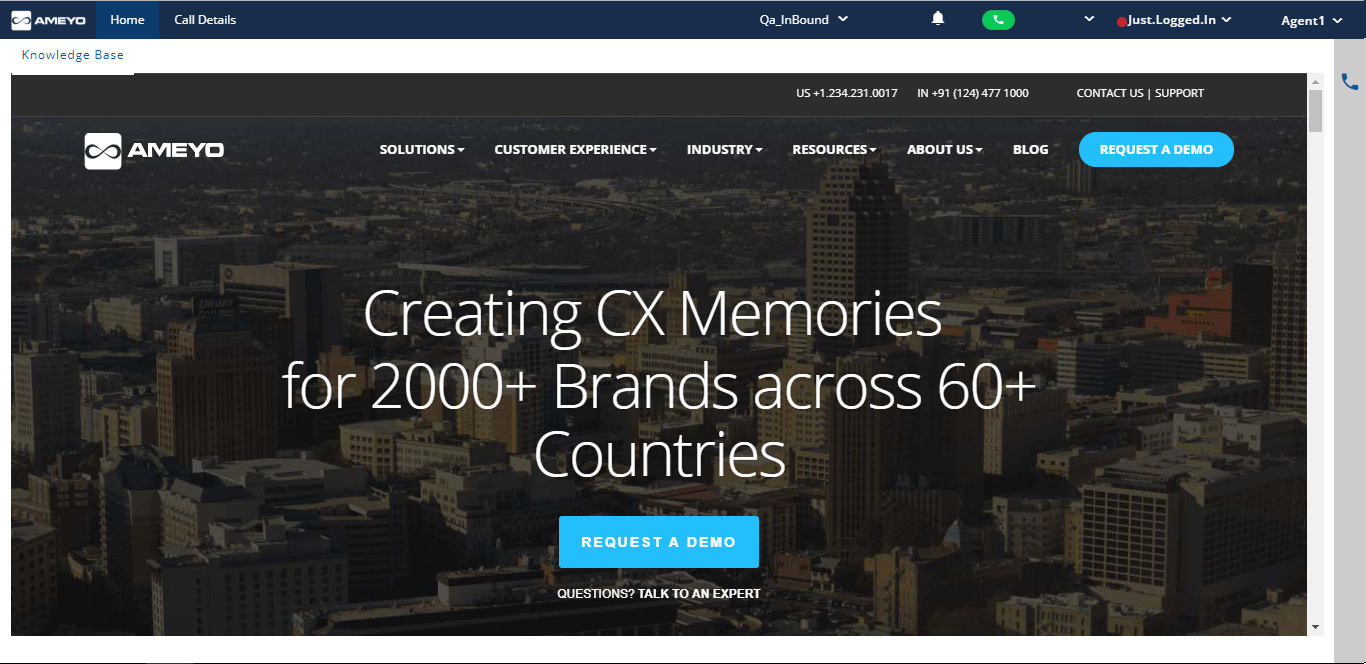
Figure: Home Screen